Performing CPR is a crucial life-saving technique that can double or even triple a person’s chances of survival when their heart stops beating. It is important to know the steps of CPR and how to perform it correctly. In this article, we will provide a detailed guide on the steps of performing CPR for adults, infants, and children.
Key Takeaways:
- Learning the steps of performing CPR can greatly increase a person’s chances of survival during a cardiac arrest.
- CPR should be performed when someone is unresponsive, not breathing, or not breathing normally.
- Follow specific preparation steps before performing CPR on adults, infants, and children.
- Compression depth, hand position, and body position are important factors to consider during CPR.
- Using an automated external defibrillator (AED) can further enhance the effectiveness of CPR.
When to Perform CPR
Performing CPR is a critical intervention that can save lives in emergency situations. It is important to know when to perform CPR to provide immediate assistance to someone who is experiencing a life-threatening event.
In adults, CPR should be initiated if the person is not breathing at all or only gasping occasionally. Additionally, if the individual is unresponsive to questions or taps on the shoulder, CPR should be started immediately.
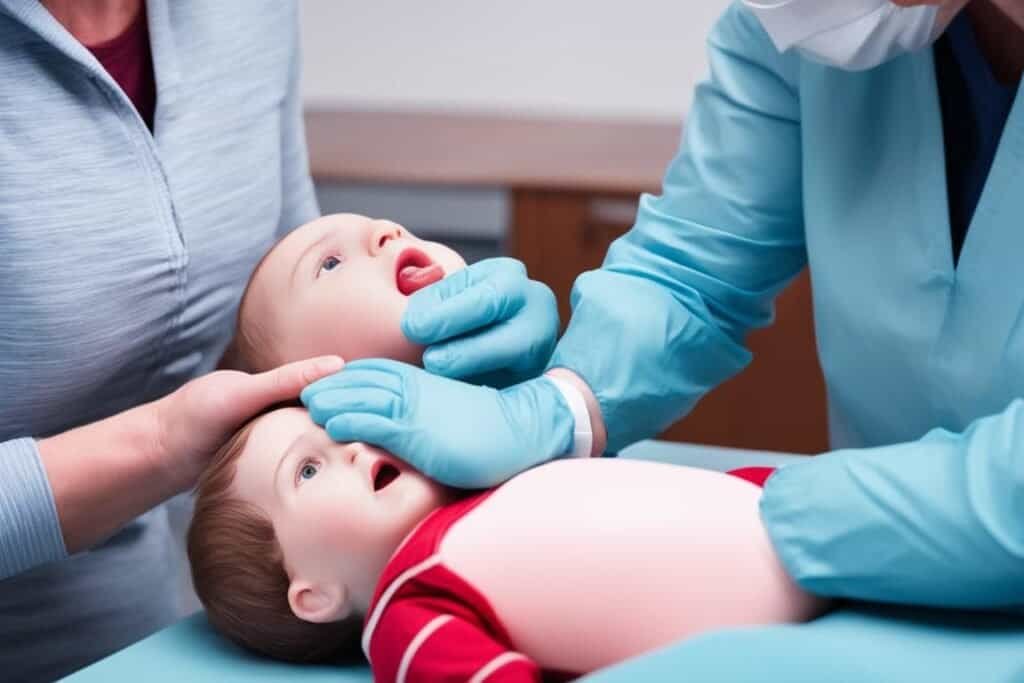
CPR is also necessary in children and infants when they are not breathing normally and show no signs of responsiveness. It is crucial to be vigilant and ready to administer CPR if you suspect that their breathing has stopped or is inadequate.
CPR is indicated in various situations, including:
- Cardiac arrest
- Choking
- Near-drowning
- Suffocation
- Poisoning
- Drug or alcohol overdose
- Smoke inhalation
- Electrocution
- Suspected sudden infant death syndrome
Before initiating CPR, it is crucial to ensure that the person is not responding. This can be done by calling out to them, tapping their shoulder, or using other suitable methods to elicit a response. By recognizing when to perform CPR, you can provide immediate assistance and increase the chances of survival for individuals in critical situations.
Preparation Steps for Performing CPR on Adults
Before performing CPR on an adult, it is important to take certain preparation steps. By following these guidelines, you can ensure that the CPR process is done effectively and safely. Here are the key preparation steps for performing CPR on adults:
- Check the scene: Prioritize safety by assessing the surroundings for any potential hazards. Ensure that it is safe for you and the person in need before proceeding with CPR.
- Check responsiveness: Tap the person’s shoulder and shout to see if they are responsive. If they do not respond, it is a sign that something is wrong and CPR may be required.
- Call for help: If the person is unresponsive, call 911 immediately or ask a bystander to do so. It is crucial to inform emergency services about the situation to ensure further medical assistance arrives promptly.
- Position the person: Carefully place the person on their back on a firm surface, such as the ground or floor. Ensure that their head, neck, and spine are in a straight line to maintain proper alignment.
- Open the airway: Gently tilt the person’s head back using your hand placed on their forehead while lifting the chin with your other hand. This maneuver helps open their airway, allowing for easier breathing.
- Check for breathing: Look, listen, and feel for any signs of normal breathing. Observe the chest for rising and falling movements, listen for breath sounds, and feel for air coming out of the person’s mouth. If they are not breathing or are only gasping occasionally, CPR should be started immediately.
Once these preparation steps are complete, you can begin performing CPR on the adult using the appropriate techniques and guidelines.
Remember, time is of the essence when performing CPR. By taking these preparation steps and initiating CPR promptly, you can provide crucial life-saving support to an adult in need.
CPR Steps for Adults
In the event of an emergency, knowing the proper CPR steps for adults can make a life-saving difference. The adult CPR technique involves two stages: preparation and the actual CPR process. By following these steps, you can provide immediate help to someone in need.
Preparation Stage:
- Check the scene for safety and ensure there are no potential hazards.
- Talk to the person and gently tap their shoulder to assess responsiveness.
- If the person is unresponsive, call 911 or ask a bystander to make the call.
- Place the person on their back on a firm surface.
- Open the person’s airway by tilting their head back and lifting their chin.
- Check for normal breathing by looking, listening, and feeling for signs of breath for no more than 10 seconds.
- If the person is not breathing, proceed with the CPR stage.
CPR Stage:
- Position yourself to perform chest compressions effectively.
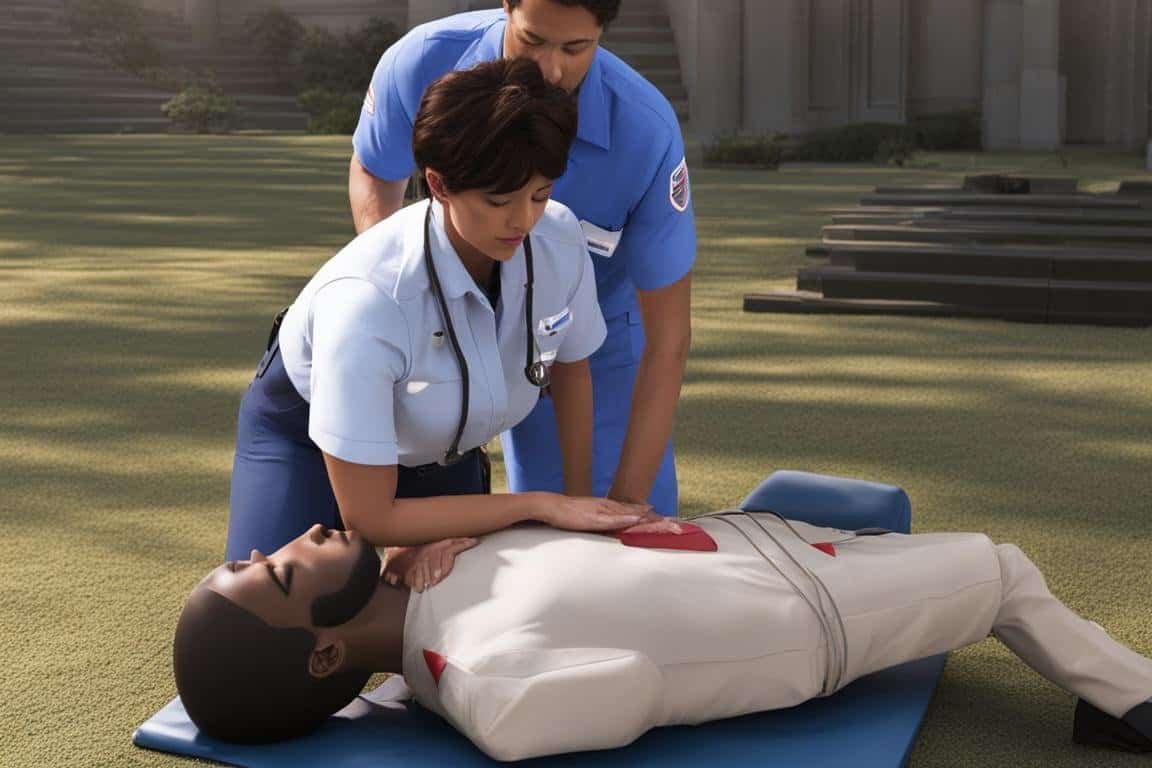
- Place the heel of one hand on the center of the person’s chest, slightly above the lower half of the sternum.
- Place your other hand on top of the first hand, interlacing the fingers.
- Maintain a straight elbow position and position your shoulders directly over your hands.
- Compress the chest at least 2 inches deep, allowing for full recoil between compressions.
- Perform 30 chest compressions at a rate of 100-120 compressions per minute.
- After the compressions, give 2 rescue breaths using the head-tilt/chin-lift technique.
- Pinch the person’s nose shut, place your mouth over theirs, and create an airtight seal.
- Deliver two full breaths, each lasting about 1 second, watching for the chest to rise.
- Continue the cycle of 30 chest compressions and 2 rescue breaths until help arrives or an automated external defibrillator (AED) is available.
Remember, performing CPR correctly is essential in providing effective emergency care. By maintaining the correct hand position, body position, and compression depth, you can significantly improve the person’s chances of survival.
Preparation Steps for Performing CPR on Infants and Children
When it comes to performing CPR on infants and children, it is crucial to follow specific preparation steps to ensure their safety and maximize the effectiveness of the life-saving technique.
- Check the surrounding area for any potential safety hazards that could obstruct the CPR process.
- Tapping the child’s shoulder or flicking the sole of their foot gently will help assess their level of responsiveness. If they do not respond, it indicates unresponsiveness, and CPR should be initiated immediately.
- If the child or infant remains unresponsive, provide two minutes of care before calling 911. This extra time ensures that you have done everything possible to help before seeking further assistance.
- Position the child or infant on their back, making sure that their head and neck are in a neutral position. This will help open their airway and facilitate effective breathing.
- Check for normal breathing by observing their chest rise and fall. If the child or infant is not breathing normally and there is no circulation of blood, proceed with CPR.
Following these crucial preparation steps will enable you to perform CPR on infants and children with confidence and competence, increasing their chances of survival in critical situations.

CPR Steps for Infants and Children
When it comes to performing CPR on infants and children, the steps are similar to those used for adults. However, there are some key differences to keep in mind. By following these guidelines, you can provide the necessary life-saving care for infants and children.
1. Infant CPR Technique:
- Position yourself next to the infant and use two fingers to perform chest compressions.
- Place your fingers just below the nipple line and press down gently but firmly, about 1.5 inches deep.
- Give two rescue breaths by sealing your mouth over the infant’s nose and mouth.
- Ensure the chest rises visibly with each breath.
- Continue this cycle of 30 chest compressions and two rescue breaths until help arrives or the infant starts breathing on their own.
2. Child CPR Technique:
- Place the child on a firm surface and position yourself next to them.
- Use one hand to perform chest compressions.
- Place the heel of your hand on the center of the child’s chest, just below the nipple line.
- Press down firmly, about 2 inches deep.
- Give two rescue breaths by sealing your mouth over theirs, covering both the mouth and nose.
- Ensure the chest rises visibly with each breath.
- Continue this cycle of 30 chest compressions and two rescue breaths until help arrives or the child starts breathing on their own.
Remember, it’s crucial to maintain a steady rhythm and ensure that the compressions and breaths are given effectively. Always seek professional medical help as soon as possible, even if the child starts breathing again. Stay calm and focused during the entire CPR process to optimize the chances of a positive outcome.
Key Differences in Infant and Child CPR Techniques
| Technique | Infant CPR | Child CPR |
|---|---|---|
| Chest Compressions | Two fingers below nipple line | One hand in the center of the chest, below the nipple line |
| Rescue Breaths | Mouth over nose and mouth | Mouth covering both mouth and nose |
Using an AED and Minimizing Interruptions in CPR
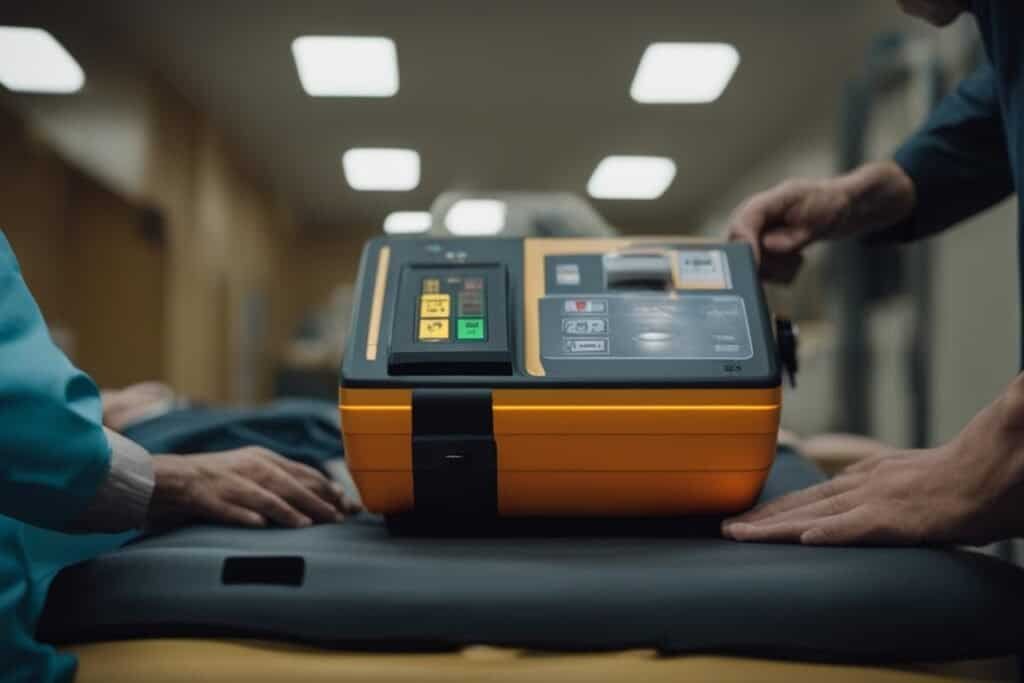
If available, an automated external defibrillator (AED) can be used during CPR to restart the heart with a strong pulse of electricity. AEDs are typically installed in public facilities and are designed to be user-friendly, providing step-by-step instructions for their use.
Using an AED in conjunction with CPR can significantly improve the chances of survival for someone experiencing cardiac arrest. To ensure the maximum effectiveness of an AED, it is important to follow the recommended guidelines:
- If an AED is available, ensure that it is turned on and ready for use.
- Apply the AED pads to the person’s bare chest as instructed.
- Make sure that no one is touching the person, and then press the button or follow the prompt to analyze the person’s heart rhythm.
- If the AED advises a shock, make sure that no one is touching the person, and then press the button to deliver the shock.
- Resume CPR immediately after delivering the shock, starting with chest compressions.
During CPR, it is crucial to minimize interruptions in chest compressions to less than 10 seconds. Interruptions in CPR can negatively impact blood circulation and decrease the chances of a successful outcome. Remember to coordinate the use of an AED with the CPR cycle to ensure seamless and effective resuscitation efforts.

Conclusion
CPR is a life-saving first aid procedure that plays a crucial role in increasing the chances of survival during a cardiac arrest or other life-threatening situations. Whether it’s for adults, infants, or children, knowing the steps of performing CPR is essential in being prepared to save a life in an emergency.
By following the correct techniques and guidelines, you can help maintain the flow of oxygen-rich blood to the brain, giving the person the best possible chance of survival until emergency medical assistance arrives. Remember, every second counts in these critical situations, and your knowledge of CPR can truly make a difference.
To acquire the necessary skills and confidence, consider taking a CPR class and getting certified. These courses will equip you with the knowledge and hands-on training required to handle cardiac emergencies effectively. Being prepared and certified in CPR empowers you to act quickly, decisively, and potentially save the life of a loved one, a stranger, or even yourself. Start your journey to becoming a CPR-certified responder today!

